How To Make A Ping Pong Table Top For A Pool Table?
Elevate your game nights by merging pool and ping pong with a DIY ping pong table top. Unleash creativity as you create, paint, and set up.

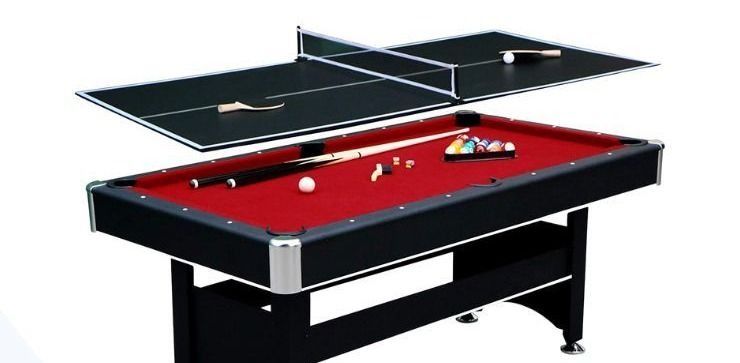
When it comes to merging the exhilarating worlds of pool and ping pong, few options are as enticing as fashioning a ping pong table top for your pool table. This ingenious idea transforms your standard pool table into a multifunctional haven for game nights, parties, and family gatherings. By following a few simple steps, you can embark on a creative journey that not only enhances your entertainment options but also adds a touch of DIY charm to your space.
Creating a Dual-Thrill Haven: Crafting a Ping Pong Table Top for Your Pool Table
Choose a durable and smooth sheet of Medium-Density Fiberboard (MDF) or plywood as the base material for your ping pong table top.
- Ping Pong Table Top Dimensions: Measure your pool table's dimensions accurately to ensure your ping pong table top fits snugly.
- Saw and Sandpaper: A circular saw will help you cut the MDF or plywood to the desired dimensions. Sandpaper is essential for smoothing the edges and surface.
- Primer and Paint: Applying a primer helps the paint adhere better. Choose a high-quality paint that suits your aesthetics.
- Ping Pong Net and Post Set: To transform your table into a true ping pong arena, you'll need a net and post set.
- Measuring Tape, Pencil, and Straight Edge: These tools will aid in precise measurements and markings.

Step-by-Step Guide
1. Measure and Cut:
Measure your pool table's length and width carefully. Mark these dimensions on the MDF or plywood sheet. Use a straight edge and a circular saw to cut along the marked lines, creating your ping pong table top.
2. Smooth the Edges:
Sand down the edges and corners of the ping pong table top to avoid any sharp edges. This step is crucial for safety and aesthetics.
3. Prime and Paint:
Apply a layer of primer to the ping pong table top. Once the primer is dry, unleash your creativity by painting the surface in a color that resonates with your style. You can go for a classic green ping pong table look or opt for something that complements your room's decor.
4. Attach the Net and Posts:
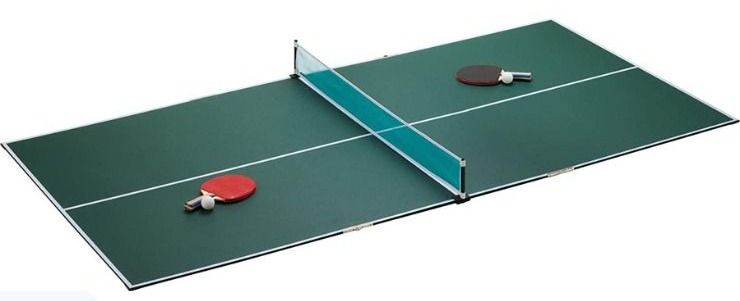
Install the ping pong net and post set at the center of the table. This addition not only completes the transformation but also prepares the stage for epic ping-pong battles.
5. Set It Up:
Place your newly crafted ping pong table top onto your pool table. The dimensions should align perfectly, offering a smooth surface for thrilling ping-pong matches.

Why You Should Dive Deeper
Creating a ping pong table top for your pool table isn't just about assembling pieces; it's a fusion of creativity and practicality. Imagine the excitement of hosting friends and family for game nights where they can seamlessly switch between pool and ping pong. This DIY project also encourages bonding through crafting, allowing you to personalize your gaming experience.
Beyond the technical aspects, the endeavor opens doors to exploration. You can delve into the history of both games, learn about their origins, and strategies, and even organize mini-tournaments to fuel friendly competition.
So, what's the difference between ping pong and tennis table?
Conclusion
Intrigued by the prospect of transforming your space into a dynamic gaming arena? This DIY project offers more than just a table; it offers a gateway to unforgettable moments and memories. So, gather your materials, channel your inner DIY enthusiast, and embark on a journey that's sure to elevate your entertainment quotient. The world of combined gaming awaits – are you ready to plunge in?
